
Host guide
How to Shoot Listing Photos With Your iPhone
News: you don't need a photographer to photograph a listing. You need the phone already in your pocket, twenty focused minutes, and six decisions this guide will make for you — height, alignment, exposure, focus, angles, and what to do about everything else. That last part is what Superphoto is for.
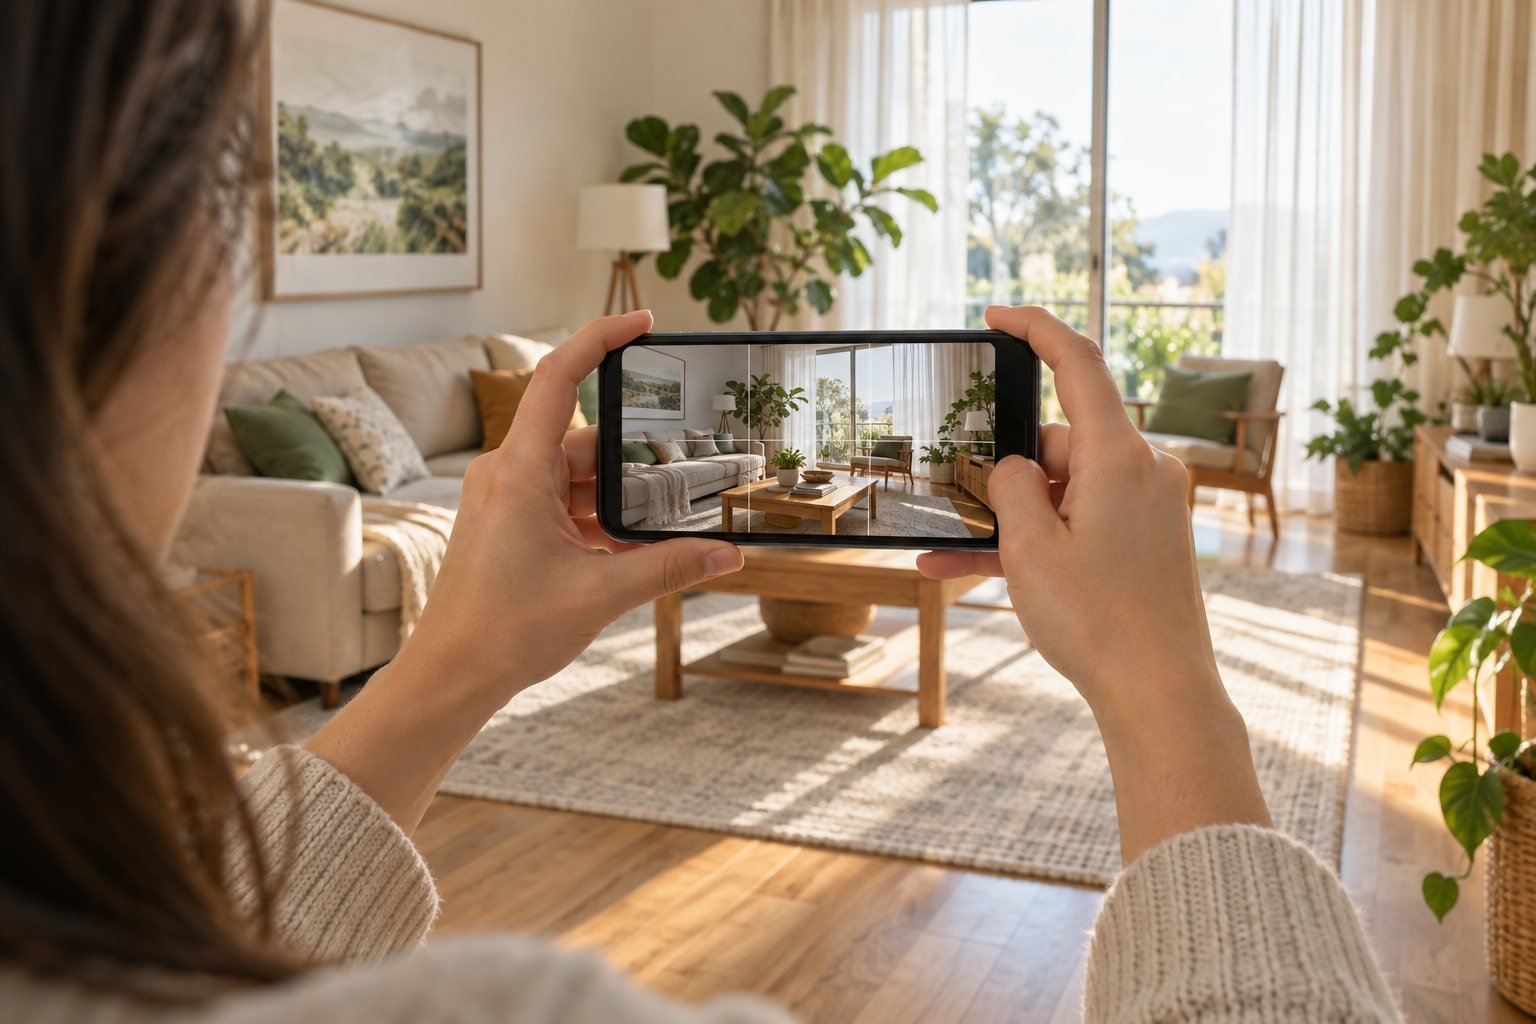
Why a phone genuinely suffices now
A modern iPhone's camera out-resolves every platform you will publish to. Booking.com's partner guidance explicitly accepts a good smartphone and its minimum resolution is 2048 × 1080 pixels; an iPhone clears that with room to spare in every outdoor and daylight interior shot. What separates a professional-looking listing gallery from a phone gallery is not the sensor — it is six decisions you make before and during the shot, and the post-production that comes after. You make the decisions below in your hand; Superphoto handles the post-production.
One minute of setup
- Clean the lens. A shirt-sleeve wipe on the iPhone lens removes the haze that ruins more listing photos than any other single cause.
- Turn on Grid and Level: Settings → Camera → Grid. The grid draws the lines you will align your verticals to, and the built-in level indicator tells you when the phone is dead flat.
- Shoot at the highest quality your iPhone offers and keep HDR automatic.
- Switch to the 1× lens as your default. The 0.5× ultra-wide is a tool you will reach for in small bathrooms — not the standard lens.
- Shoot in landscape. Search results on every platform display landscape photos; a vertical photo throws half its pixels away.
Apple documents these camera controls — tap to focus, drag to adjust exposure, touch and hold for AE/AF Lock — in its iPhone camera tools guide.
Height: the single biggest upgrade
Shoot from about 1.2–1.5 m (4–5 ft) — roughly your sternum, camera held flat. Three independent sources agree on this band, and each explains why:
- Booking.com's partner guidance specifies 100–160 cm and explains it "maintains consistency across images and feels neutral from the viewer's perspective".
- Real-estate photography educator advice published by HDRsoft opens with 4–5 ft and quotes architecture photographer Rob Moroto's rule: shoot "from the heart" — below eye level, so you avoid the top-down look and the photo mimics a person walking through the house.
- Working photographers surveyed by Photography for Real Estate land in the same place (4–5 ft, camera level), adjusting only for unusually tall rooms and special compositions; Fstoppers notes that extreme heights make a space look smaller.
Sources: Booking.com Partner Help · HDRsoft on shooting height · PFRE height discussion · Fstoppers compositions
Verticals: what makes a room look professional or amateur
Tilt the phone up even slightly and every wall and door frame leans inward, converging toward a point. Photographers call it keystoning — it is a perspective problem, not a lens defect, and it is the single clearest "amateur vs professional" signal in a photo gallery. Your job on capture is simple: keep the phone level, and line up the room's vertical edges with the grid's left and right lines so they run parallel to the frame.
Do it in the camera, not afterwards: heavy perspective correction crops pixels and can leave edges looking bent. If a shot still comes out slightly off — midnight reshooting not required — that kind of cleanup is exactly what professional post-production handles, and nothing in the frame changes.
Further reading: how to avoid converging verticals and PFRE's straightening verticals primer.
Exposure: keep a little of the view outside
Bright windows are where phone photos usually fail: expose for the room and the windows turn into glowing white rectangles; expose for the window and the room goes dark. Professionals solve it with a "window pull" — an exposure where the outside is visibly there, with the interior brightened to match. Nathan Cool's widely shared workflow (covered by Fstoppers) adds the crucial nuance: give the window pull real care when the view is what sells the property — a lake, a sea, a skyline — and keep it subtle when the window is incidental.
On your iPhone:
- Tap on the window to place focus and metering there.
- Drag the exposure slider down a touch until you can see what is outside — sky, trees, the sea — without blowing it out completely.
- Touch and hold to lock AE/AF if you are moving around the room.
- If the room is now too dark, don't fight it: a slightly bright interior with a preserved view is the ideal starting point. Superphoto's Window Pull enhancement brightens the interior while keeping the outside visible — the same professional technique, applied automatically.
Booking.com's guidance adds the commercial reason: photos should show the property's views so guests know what to expect. A sea view that registers as a white blob is revenue left on the table.
Focus: quick, deliberate, then forget it
- Tap the plane you want sharp — mid-room, not the nearest chair arm. iPhone autofocus is good; giving it an instruction is better.
- Touch and hold for AE/AF Lock — Apple documents it — so focus doesn't hunt between shots as you recompose.
- Trust the wide lens. For any given aperture and focus point, a wide-angle lens has greater depth of field than a normal or telephoto one (the concept the hyperfocal distance describes), which is why phone interior shots come out uniformly sharp. Keep the very closest furniture from crowding the lens and the whole room stays crisp.
Angles and lenses: corner shots, and when to go ultra-wide
- Shoot from a corner or the doorway. Both Booking.com's partner guidance and working interior-photography workflows recommend corner angles: they add depth and fit the most of the room in frame. Keep enough floor and furniture to make the geometry believable.
- Start with the 1× lens; use 0.5× only when the room won't fit — the iPhone Photography School's lens guide makes the same recommendation. Ultra-wide fits more but shrinks distant features and exaggerates whatever sits near the frame's edges.
- Keep important straight edges away from the extreme frame edges when shooting ultra-wide, leave iPhone Lens Correction on, and keep the phone level — tilt is what turns mild barrel distortion into bowing walls.
And the rest? Let Superphoto handle it
Here is the deal this guide has been building to: you take six good decisions — height, level, exposure, focus, angle, lens — and upload the photos straight from your iPhone. Everything that a professional would do afterwards is what Superphoto does:
- Light: the flambient-style brightness and colour professionals are known for, applied consistently across the whole set.
- The window view: Window Pull keeps the sky and sea you preserved visible while the room brightens.
- The details: optional one-tap scenes — lights on, a lit fireplace, hotel-style towels, freshly ironed-looking bed sheets, a coffee moment — each shown to you on your own photo before you approve it.
- The consistency: every photo in the gallery receives the same standard, which is what makes a listing look professionally photographed rather than phone-photographed.
Upload the originals you just shot, compare each result against its original, approve what you like — and publish. No scheduling, no invoice, no waiting a week for an edit.
Watch and learn: three phone-photography walkthroughs
If you prefer learning by watching, these verified tutorials teach the same techniques on real phones:
- BoxBrownie.com — How To Shoot Real Estate With An iPhone 15
- Moment — How to Shoot Amazing Real Estate Photos on Your Phone (with Caleb Kerr)
- Keller Williams Empower — How to Shoot Real Estate Photography with a Mobile Phone
Common questions
What if my photos come out too dark?
Upload them anyway. A slightly dark, level, in-focus frame with a visible window is exactly the raw material enhancement is designed to lift. The one thing to avoid is severe motion blur.
Do I need an iPhone specifically?
No — any recent smartphone meets the technical requirements. The technique is identical; only the menu names differ.
How many shots per room?
Two or three: one wide from a corner, one mid-range, one detail. Then keep only the best of each.